top of page
  • Wooden Panels_edited.jpg

    Sherwin Williams Paint

    Tape
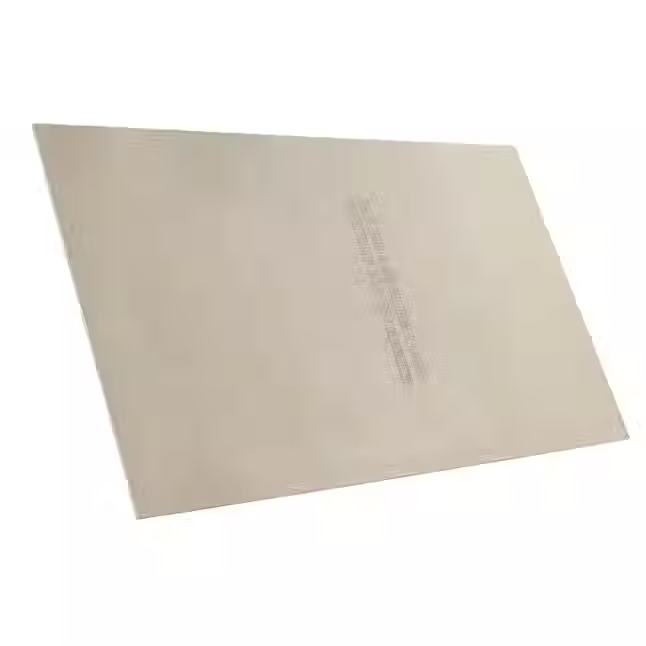
    HardieBacker

    2x6 batt insulation
    Behr paints

    Mold-resistant drywall

  • Wooden Panels_edited.jpg

    Framing

    Paint Touch Up's

    Drywall Repairs

    Inspections & Assessments

    Waterproofing

    Leak detection & patching.

    Trim & Moldings

    Appliance Installation

    Electrical

    Plumbing

    Backsplash installation

    Taping

    Painting

    Cabinetry

Bathroom

Select Area For Media

Client Review

Add paragraph text. Click “Edit Text” to update the font, size and more. To change and reuse text themes, go to Site Styles.

Client Name

Light Wood

Select Below To View Areas

Before

After

Progress Photos

Wooden Panels

Notes


What You’re Looking At

In the photos, you’ll see the transformation plainly. The once gloomy and cramped room now appears open, fresh, and balanced. Clean, gleaming tile surfaces span the floor and rise up the shower walls, including into the window niche area – all of that is our work, creating a watertight shell where there was none before. The shower niche is visible as a tidy alcove holding toiletries, a small but impactful new feature we introduced. Shiny new fixtures catch the eye: the faucet, showerhead, tub spout, and sleek grab bar were all installed as part of the treatment. The toilet and sink vanity stand bright and new as well, but note how the vanity cabinet itself fits the style yet looks built-in – that’s because it’s the original cabinet healed with fresh paint and knobs, not a brand new unit. We left the cabinet’s solid bones in place and simply gave it a much-needed facelift. You might also notice the window within the shower: while we didn’t replace the window unit itself (it was structurally sound), we did integrate it seamlessly into the new tiled surround and trim it out properly, eliminating the peeling paint and rot that used to be there. In essence, everything that looks crisp, clean, and properly aligned is Reale Construction’s doing – from the recaulked tub edges to the smooth ceiling and new vent grille. Any decorative touches, like the shower curtain, towels, or wall art, were added by the homeowner after our work was done. We made sure to differentiate our craftsmanship from the bathroom’s prior state: wherever you see solid surfaces and straight lines, that’s the result of our corrective surgery, whereas anything still carrying a bit of “character” (for instance, if the window frame has some old-house charm) is a part of the home’s original DNA that we worked around carefully. The outcome is a harmonious blend of old and new, with our renovation work shining as the new healthy tissue grafted onto a once-ailing structure.


Dos and Don’ts (Aftercare Instructions)

  • ✔️ Do run the exhaust fan during and after showers — think of it as daily breathing exercise for the bathroom. Proper ventilation will keep this room’s lungs clear and prevent moisture from building up again.

  • ✔️ Do seal and check the grout and caulk lines annually. A quick yearly check-up (and re-sealing if needed) will ensure the waterproof “skin” we applied remains intact. Treat the tile and grout with gentle, pH-balanced cleaners (much like herbal tonics) to maintain their strength and sheen without stripping away protection.

  • ❌ Don’t use harsh acidic or bleach-based cleaners on your new surfaces. Abrasive chemicals are like corrosive medicines with side effects – they can eat away at the grout sealer or the finish on fixtures. Opt for mild cleaners so as not to disturb the bathroom’s now-balanced flora.

  • ❌ Don’t ignore small symptoms. If you ever spot a bit of peeling caulk, a loose tile, or a drip from a fixture, address it promptly. In holistic terms, listen to the space: a minor issue is the home’s way of communicating an imbalance. Early intervention (a touch of fresh caulk or a tightened connection) will prevent a minor ailment from becoming a major one. Remember, this bathroom has been given new life – with a little mindful care, it will remain a clean, calm oasis for years to come.

Other Projects

Pre-sale upgrade- bathroom

Pre-sale upgrade- bathroom

Quick Bathroom Fix

Quick Bathroom Fix

Spa-Style Bathroom Remodel & Extension

Spa-Style Bathroom Remodel & Extension

Wooden Panels

Overview

Jun 25, 2025
Aug 8, 2025
Signs & Symptoms This guest bathroom was stuck in the past — outdated finishes, a tired tub/shower, and lingering dampness that signaled inner issues. The tile grout had darkened and cracked in places, a tell-tale rash of long-term moisture exposure. A musty odor hinted at poor ventilation, as the old fan wheezed like a blocked airway after every shower. Around the window in the shower, paint was peeling and the drywall had softened – the bathroom’s equivalent of inflamed tissue, caused by years of water seeping where it shouldn’t. Fixtures like the faucet and toilet had become creaky and inefficient, the bathroom’s “joints” aching and its “digestion” slow. In short, this small room was showing systemic imbalance: trapped humidity, dated style, and a general sense of fatigue that anyone using it could feel. It needed a thorough check-up and a healing plan, not just a surface patch. Treatment Plan Demolition & Diagnosis: We began with a full-scale removal of the unhealthy parts. Like a surgeon excising damaged tissue, we gutted the bathroom down to its bones – out went the mildewed drywall, the old tile, the worn-out tub and plumbing fixtures. This invasive step revealed the hidden “injuries” beneath: minor wood rot by the window and a patchwork of non-waterproof wallboard that had been quietly harboring dampness. With open walls, we could finally read the bathroom’s pulse and assess every structural stud and pipe for integrity. Structural Repairs & Upgrades: Our prescription called for a complete rebuild from the ground up. We installed a new acrylic tub base and a modern mixing valve for the shower – think of this as giving the bathroom a heart transplant and improved circulation for its water system. To strengthen the spine and skin, we put up cement backer board on every wall of the tub surround (including that tricky window wall) and on the floor, then applied a liquid waterproof membrane over all of it. This duo is the bathroom’s new immune system: cement board for sturdy bones and a waterproof layer acting like a protective herbal salve, sealing out water like a healing ointment on a wound. We also custom-framed a 16” x 24” wall niche in the shower – a precise acupuncture-like intervention to give the shower a convenient recess, relieving the clutter (no more balancing shampoo bottles on the tub edge!). Every seam was taped and mudded, every corner sealed, ensuring this patient won’t suffer from internal leaks again. Surface Renewal: With the infrastructure sound, we moved on to the outward treatments. New ceramic tiles were laid on the floor and shower walls in a 1/3-step staggered pattern for both beauty and stability. Each tile was set with meticulous care, almost like aligning vertebrae, to restore order and balance to the space. We opted for a calming, neutral palette – a bit of chromotherapy at play – giving the room a bright but soothing complexion. After grouting all the joints, we applied a professional-grade sealer, ensuring these grout lines will repel stains and mold (consider it a final homeopathic dose of prevention, boosting the bathroom’s long-term resilience). The formerly leaky window area is now wrapped in tile and waterproof trim, fully vaccinated against future water intrusion. Fixtures & Finishes: We installed a new low-flow toilet, an under-mount sink set in a fresh countertop, and an updated faucet, curing the bathroom’s “digestive issues” with efficient new organs. Above the sink, a modern vanity light now shines bright without flicker – the room’s new lighthouse guiding each daily ritual – complemented by a clean-edged mirror that reflects a space twice as open as before. We also prescribed a powerful new exhaust fan, upgrading the bathroom’s respiratory system so it can properly breathe out steam and impurities. Behind the scenes, we added solid blocking in the walls and installed a sturdy 2’ grab bar in the tub/shower area, an orthopedic support if you will, to ensure safety for all ages. Finally, we repaired all wall surfaces and applied two coats of premium moisture-resistant paint on the walls and ceiling, refreshing the room’s complexion and sealing in its renewed health. Even the original vanity cabinet got a rejuvenation treatment: we sanded, primed, and painted the cabinet base with a durable finish and added new hardware, rather than replacing it entirely – a nod to Ayurvedic healing by strengthening the existing core instead of swapping it out. Every element of the cure was implemented with care and precision, from plumbing and electrical adjustments to the final caulk line. By the end, this bathroom had a clean bill of health, rebuilt from the inside out.

Bathroom

bottom of page